


May 10, 2022
Six Fundamental Features of Vector LMS For Casinos
Industry:
Solution:
Achieving a comprehensive understanding of an unfamiliar technology solution can be a daunting process for new administrators. To ensure all our casino clients are getting the most out of Vector LMS for Casinos, we recently hosted a bi-weekly webinar training series to review key features that help you save time and money. Below, we've shared the top tips from each webinar.

User Management and Automation Tools
To streamline and simplify day-to-day tasks for administrators and training managers, Vector LMS for Casinos offers a host of automation and user management tools. Whether you're looking to add one new employee or you need to add your entire workforce, the User Management Dashboard makes it quick and easy to do so. This dashboard can be found in the "User Administration" tab of the Administrator Menu, which is found in the top left-hand corner of the top navigation bar.
From this screen, admins can add employees one at a time, edit existing user data, export user data, and use the "Add Bulk Users" feature found in the Tools dropdown to import Excel spreadsheets and add multiple users at once.
Customizable employee user data filters include usernames, employee status, employee ID, primary location, department, and more. By selecting an individual user, this data, housed in a user profile, can be edited as needed.
These data fields, in conjunction with other functionality, allow the LMS to automatically assign training as required by each employee's specific department, location, role, and hire status.
If your casino uses a human resources information system (HRIS), Vector LMS offers API integration functionality to allow changes made in the HRIS to automatically be updated in the LMS platform. To enable this feature, please contact your Customer Success Manager.

Training Matrices
As previously mentioned, training can be automatically assigned to employees through Vector LMS for Casinos, streamlining training management and dramatically reducing time spent on manual training processes. With user data updated and accurately maintained, the next step is to create Training Matrices to assign content in bulk.
From the Enrollments Dashboard, found in the Administrator Menu, admins can quickly create a Course Matrix, select the required courses, and choose whether to assign it individually by username or in bulk. To assign a Course Matrix in bulk, use the "Select Fields to View" dropdown and choose which fields to enable, such as department, job title, or property.
Once created, admins can edit the course matrix by selecting it on the Enrollments Dashboard to assign it to employees as desired. Edits can be made in platform or by downloading the matrix as an Excel file, editing it, and then reuploading it with the "Make Bulk Changes" tool, all housed in the Tools drop-down menu.
The next step, once the course matrix is created and assigned to employees, is to set role out rules. These rules indicate the date the courses will be assigned, the date training is due, and other advanced settings.
By customizing the settings in this Edit Enrollment screen, which can be found by expanding each column and clicking on the "Enr" hyperlink, admins can easily manage the beginning and end of annual training cycles, automatically assign new-hire training, set repeat enrollment, assign training only to specific employees, such as employees transferring from a different location or hired within a certain date range, set prerequisites, among other modifications.

Notifications Center
In addition to automatically assigning training through Course Matrices, admins can use the Notifications Dashboard, found in the "System Administrative" tab of the Administrator Menu, to set up email or in-app notifications. These notifications can be used to remind employees of upcoming training due dates, inform employees when new training has been assigned to them, and other training-related announcements. By making use of this feature, casino and gaming leaders and training managers can ensure training is completed on time and employees don't fall out of compliance due to missed or forgotten training due dates.
To receive notifications via email, employees must verify their email address. Verification emails can be individually sent from the Bulk Email Management screen, found in the Tools dropdown on the User Management Dashboard, or by utilizing the "Add Bulk Users" feature, also found in the Tools dropdown on the User Management Dashboard. From the Bulk Email Management screen, administrators can view employee data and email verification status, as well as filter by verification status to identify employees who have yet to verify their emails.
Once employee email addresses have been verified, admins can use the Notifications Dashboard to set up custom notifications, view a list of notifications already created, and turn each notification on or off. When viewing previously set-up notifications, admins can see who set it up, the event that triggers the notification, and when it was created.
By selecting "Create Notification" from the Tools dropdown menu, admins can set up new notifications. Customization options include the event that triggers the notification, which course or lesson it applies to, which users should receive the notification, the contents of the notification, as well as the delivery method (in-app or email).
A log of sent notifications and the users that received them can be accessed from the Tools dropdown on the Notifications Dashboard.

Course Authoring Tool
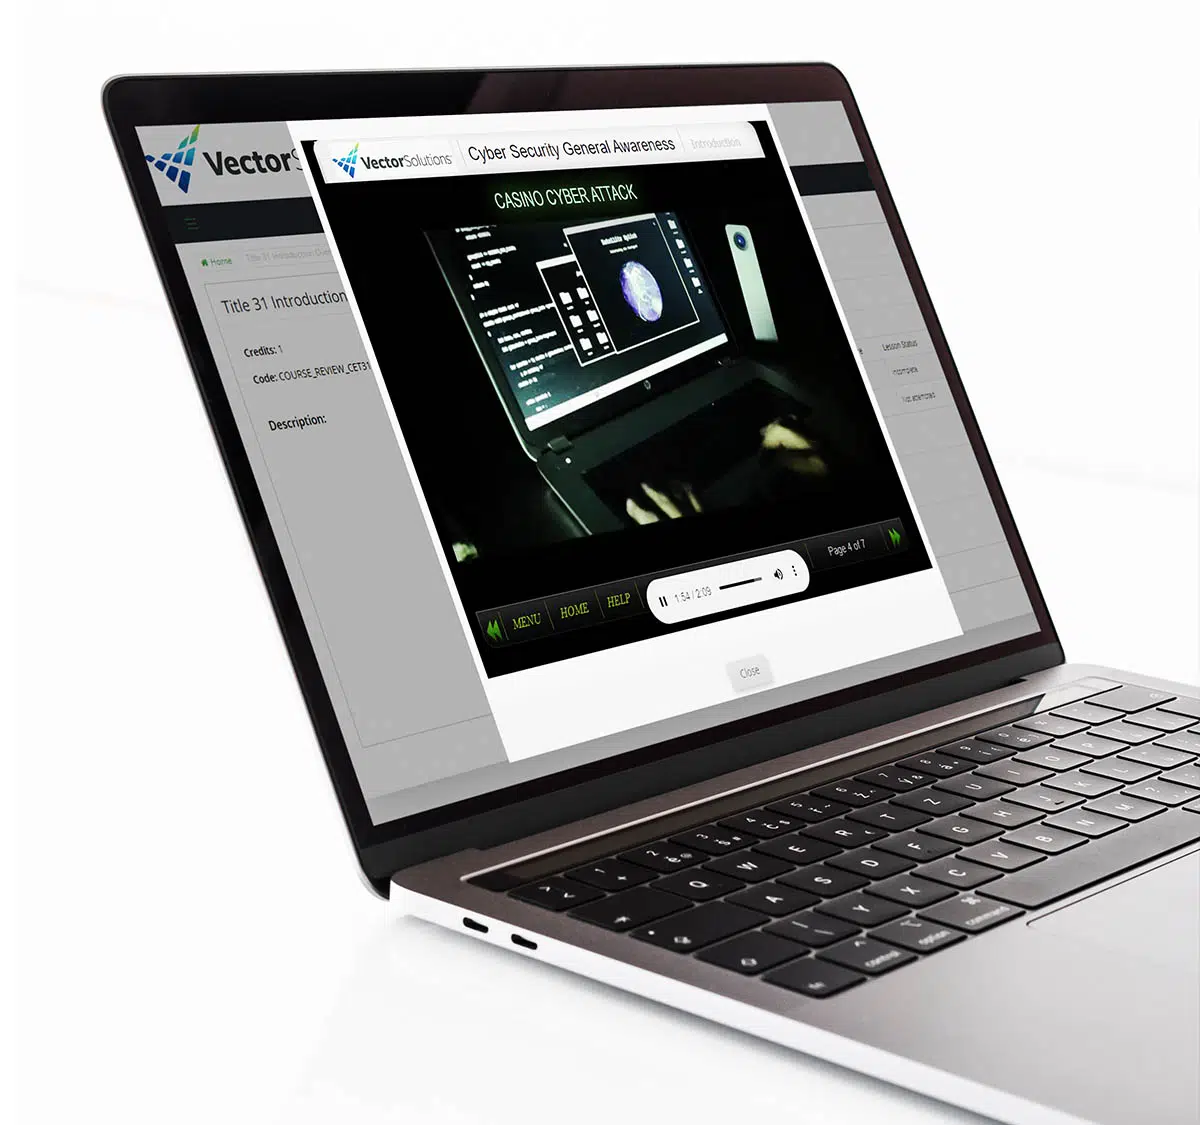
Vector Solutions offers casinos and gaming businesses more than 150 online courses covering subjects including anti-money laundering (AML) compliance, sports betting, leadership training, HR compliance, and more. However, administrators are also able to upload custom content to the LMS to supplement packaged courses or create courses from scratch. This is especially helpful for site-specific training, new-hire orientations, or to address unusual training circumstances unique to your casino and gaming organization.
Each course is made up of several pieces of content: lessons, assessments, and/or other documentation. A lesson can also be a stand-alone course. The content for lessons can include PDFs, videos, PowerPoints, and other supported file types.*
To add PowerPoints or video files to a lesson, the files must be uploaded to the platform first. To manage PowerPoints and video files, hover over "Course Administration" in the Administrator Menu and select the appropriate option. From the PowerPoints or Videos screen, admins can upload new content and edit existing content.
Additional pages or narration can be added to PowerPoints through the platform. Admins can also add title/end cards or additional pages to videos. Once uploaded and finalized, PowerPoints and videos can be selected during the lesson creation process.
To create a new lesson, simply select "Create Online Lesson" from the Tools dropdown on the Lessons management screen, found in the "Course Administration'' tab in the Administrator Menu. Fill in a course name and unique code if desired, choose the lesson type, and upload or select the content file. Once the lesson content is added, admins can make settings selections, such as adding a time limit. From there, admins can add the lesson to an existing course or create a new course.
To add an assessment to a course, admins can create a survey or quiz with the Survey/Quiz Maker. After filling out the details of the survey or quiz and adding the desired questions, the survey or quiz can be attached to one or more courses by selecting them from the "Attach to a course" search bar on the "Course" tab.
To view, manage, and edit previously created courses, lessons, surveys/quizzes, and file uploads, hover over "Course Administration" in the Administrator Menu and select the appropriate file type.
*Scorm packages can be uploaded as lessons with help from Vector Solutions. Please contact your Customer Success Manager for more information.

Classroom Course Management
In addition to managing online training, Vector LMS for Casinos can also be utilized to schedule and manage classroom-based training. By keeping all training-related data in one place, casino and gaming entities can simplify and streamline their training programs, making training less of a hassle for both training managers and employees.
By using the "Create Classroom Lesson" tool found in the Tools dropdown menu on the Lessons management page, admins can enter the name, lesson code, and description of the in-person lesson. Files and web links, such as pre-course materials or waivers, can also be attached.
After adding the classroom lesson to an existing course or creating a new course, admins can select session settings, including start date, start time, end time, location, instructors, class size and waitlist limit. If the course will require multiple sessions, admins can use the "Duplicate Sessions" tool to set recurring sessions as needed.
Users can view upcoming in-person training sessions that have been assigned to them on the calendar located on their Home screen.

Reporting and Analytics
For an indepth look at your staff's training progress, administrators can make use of the Reporting Dashboard, found in the Administrator Menu. From this dashboard, administrators can run and customize reports detailing course completion status, course and lesson data, enrollment overdue status, and more.
Admins can customize reports by first selecting "Run Report" and then clicking "Manage View" on the next page. From this screen, administrators can edit which fields to include or exclude. These fields, including primary property, job title, and course information, can also be utilized to filter and sort the report once it's run. After selecting the appropriate fields and applying the changes, admins can save the report to make it available from their Reporting Dashboard by selecting "Save & Subscribe." By saving the report, it can be run at any time without needing to reselect the specific fields.
Admins can also save it with a specific title and designate whether it is available to other administrators or private only to the creator. When admins run public reports, the data they see is dependent on the property and department data in their user profile.
Once ran, report data can be viewed and filtered in the platform or exported to Excel, as well as automatically sent via email to one or more administrators at designated intervals.
Admins can set up these recurring report distributions by running the report from the Reporting Dashboard, selecting "Save & Subscribe," and then selecting the "Subscribe" tab. Here admins can turn subscription emails on or off, set the frequency the report is sent and at what time it is delivered, select who will receive the emails, as well as select a date to automatically stop sending the emails if desired.
For a visual view into training progress, admins can make use of the Analytics Dashboard by selecting "Report Analytics," found in the top left-hand corner next to the Administrator Menu. On this screen, administrators can select the appropriate training metric, adjust filters as needed, and generate graphs based on the live data found in the Reporting Dashboard, providing casino and gaming leaders with an easy way of sharing training data with stakeholders.
Do you have questions about Vector LMS for Casinos?
Please contact us today to request a demo or learn more about Vector Solutions' Casino course catalog, as well as our full suite of training, workforce management, safety, and compliance software solutions for casino and gaming organizations.
Related Resources

From Policy to Practice: 5 Strategies to Improve Service Standards & Strengthen Compliance Across Casino & iGaming Teams
July 15 2026

2027 Casino & Gaming Training Budget Planning Resources
July 13 2026

Gaming Industry Trends 2026: What the AGA's State of the States Report Means for Operators and Suppliers
June 3 2026
Explore our software solutions designed to help your organization succeed
Request a Demo